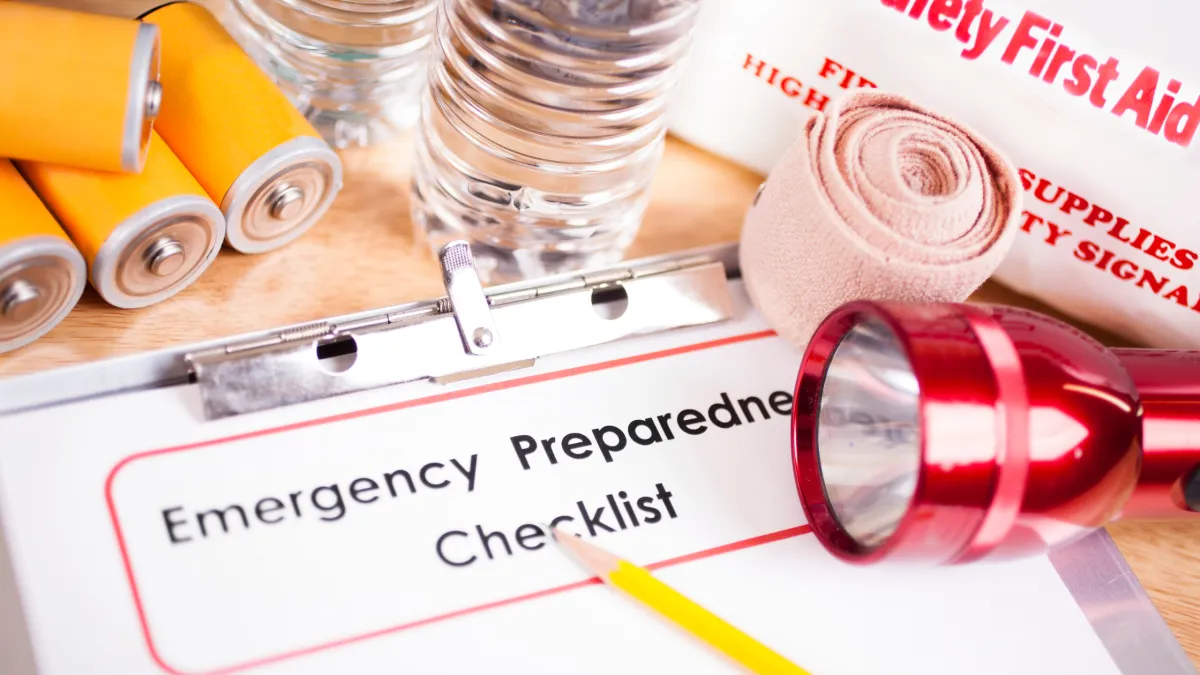
AED Readiness at Work: Placement, Confidence, and What to Do Before an Emergency
Having an AED in the building is a great start. But AED readiness at work is not the same as AED ownership.
Readiness means the AED is easy to find, accessible when it matters, and supported by people who know what to do. This guide walks through practical ways to improve AED placement, visibility, maintenance habits, and team confidence before an emergency happens.
To reinforce quick action, download the Workplace Poster Pack. When you are ready to build real hands-on confidence, book CPR, AED & First Aid Certification for your team.
What AED readiness really means at work
A simple way to think about workplace AED readiness is three pillars:
Access: People can find it quickly and reach it during all operating hours.
Maintenance: Pads and batteries are in date, the unit is functional, and checks are documented.
People: Enough team members across shifts know the steps and roles, and can act without hesitation.
Most issues show up when one of these pillars is missing. Common examples:
The AED exists but is not visible or marked clearly.
The AED is locked in an office after hours or blocked behind equipment.
Pads or batteries are expired, or nobody is assigned to check them.
Employees are unsure who calls 9-1-1, who brings the AED, and what happens next.
If you address these before something happens, your team will respond faster and with far less confusion.
AED placement basics: put it where seconds matter
AED placement should be simple. Your goal is to reduce time spent searching and increase the chance the AED arrives quickly.
Placement principles that work in most workplaces:
Put the AED where people naturally pass, not where it is “out of the way.”
Choose a location that is visible and not likely to be blocked.
Ensure it is accessible during all shifts and hours of operation.
Place it near high-traffic areas or areas where incidents are more likely (break rooms, main corridors, lobbies, gyms, loading areas).
If you have a larger facility:
Think in terms of coverage zones. One AED in a far corner of a large building can still leave big gaps.
If you have multiple floors, consider the time it takes to reach the AED and return.
If you have multiple entrances, plan for where EMS will arrive and how your team will guide them.
You do not need to over-engineer placement. You just need to make it fast to find and fast to retrieve.
Make the AED easy to find: signage, maps, and onboarding
If someone has to ask, “Where is it?” during an emergency, you have already lost time.
Make it obvious:
Use clear signage leading to the AED.
Keep signage consistent across the site.
Add AED locations to a simple facility map or safety board.
Include “AED location” in new-hire orientation and supervisor huddles.
A simple script for supervisors
Use this during a quick huddle once a month (10 seconds is enough):
“Quick reminder: the AED is located at [location]. If there is a medical emergency, call 9-1-1 on speaker, send someone for the AED, and start CPR if the person is not breathing normally.”
If you have multiple AEDs:
“The closest AED to this area is at [location]. The next closest is at [location].”
Maintenance that actually gets done: checks, pads, batteries, and logs
A lot of AED programs fail quietly through neglect, not intent. The fix is to make maintenance easy and assign ownership.
Start with two basics:
Assign one role or person responsible for checks (and a backup).
Set a realistic schedule that your team will actually follow (monthly is common).
What to verify during routine checks:
The unit is present, accessible, and the cabinet is not blocked.
Status indicator shows the AED is ready (if your model has one).
Pads are sealed and not expired.
Battery status is OK and not expired.
Any accessories are present (scissors, razor, gloves, wipe, mask if included).
No visible damage to the unit or cabinet.
Logging matters because it creates continuity when staff changes. Keep it simple. A short log with date, initials, and notes is enough for most workplaces.
The minimum standard for “ready to use”
If you need a clear internal standard, use this:
An AED is “ready to use” when it is visible, accessible, functional, and has in-date pads and battery, with a documented check routine and employees who know where it is.
If you want a refresher on basic AED use steps, the Red Cross overview is a good reference: AED steps.
People and training: build coverage across shifts
Even a perfectly maintained AED will not help if people hesitate or do not know what to do. Your goal is coverage, not just a few trained individuals.
Build coverage across:
Shifts
Departments
Work areas
Locations (if you have multiple sites)
High-impact groups to train first:
Supervisors and shift leads
Front desk, reception, security
Facilities and maintenance teams
Safety committee members
Anyone responsible for opening or closing the site
Training should be tracked and renewals should be planned. If you do not have an owner for the training roster, AED readiness erodes over time.
If you are ready to build confidence through hands-on practice, book CPR, AED & First Aid Certification with PCS Safety.
Before an emergency happens: tighten the response plan
You do not need a complex plan. You need a simple plan people can remember.
Confirm these basics:
The site address (and best entrance for EMS)
Who meets EMS at the door
How to communicate quickly (radio, group call, “call 9-1-1 on speaker”)
Who retrieves the AED
A simple role structure helps:
Caller: Calls 9-1-1 on speaker and stays on the line
AED Runner: Retrieves the AED and brings it to the scene
Door Guide: Meets EMS and guides them in
Responder: Starts CPR if needed and continues until relieved
Then practice with a short micro-drill:
“Where is the AED?”
“How fast can it get here?”
“Who guides EMS to the exact location?”
Micro-drills expose real friction points, like locked doors, blocked cabinets, unclear directions, or confusion about roles.
Next steps: improve readiness now, then build real skills
If you want quick reinforcement across your workplace, download the Workplace Poster Pack and post it near AEDs, first aid kits, and safety boards.
If you want real confidence and faster action when it matters, book CPR, AED & First Aid Certification for your team.
For questions or scheduling support, contact PCS Safety:
Phone: (866) 413 4103
Email: [email protected]
Contact page: https://www.pcs-safety.com/contact/
Disclaimer: The information provided in this article is for general informational purposes only and is not intended to serve as legal or professional safety advice. For assistance with OSHA compliance or workplace safety programs, please contact PCS Safety.
